How To Customize Styling On Forms

Cater your waivers and forms to fit the brand of your business! Allow your clients to recognize your forms easily.

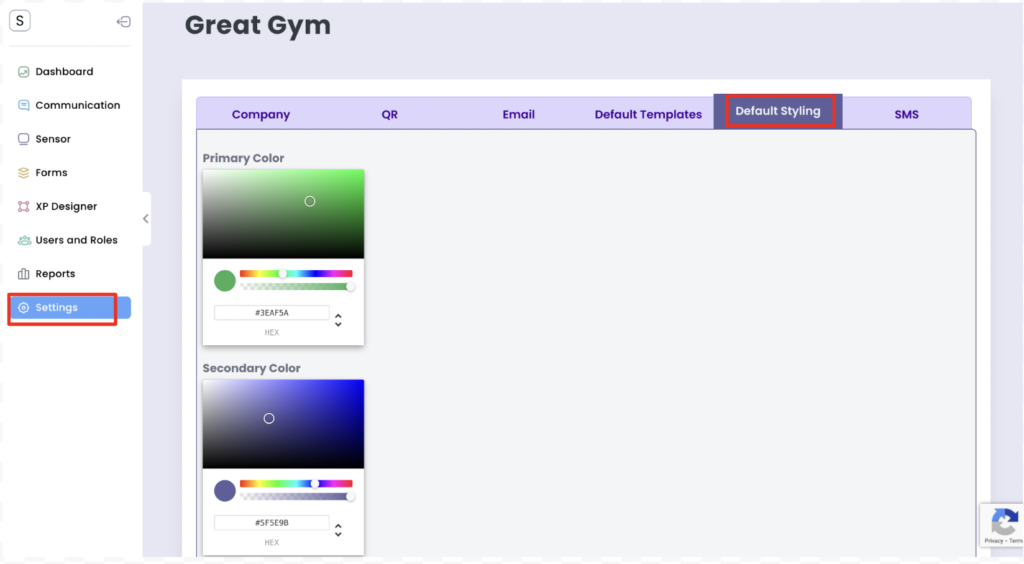
Step One: Once you’ve logged into your account, you’re going to scroll all the way down and click on the “settings” tab.

Step Two: Click on the “Default Styling” tab. Here you will be able to change your primary and secondary color to your own brand colors!

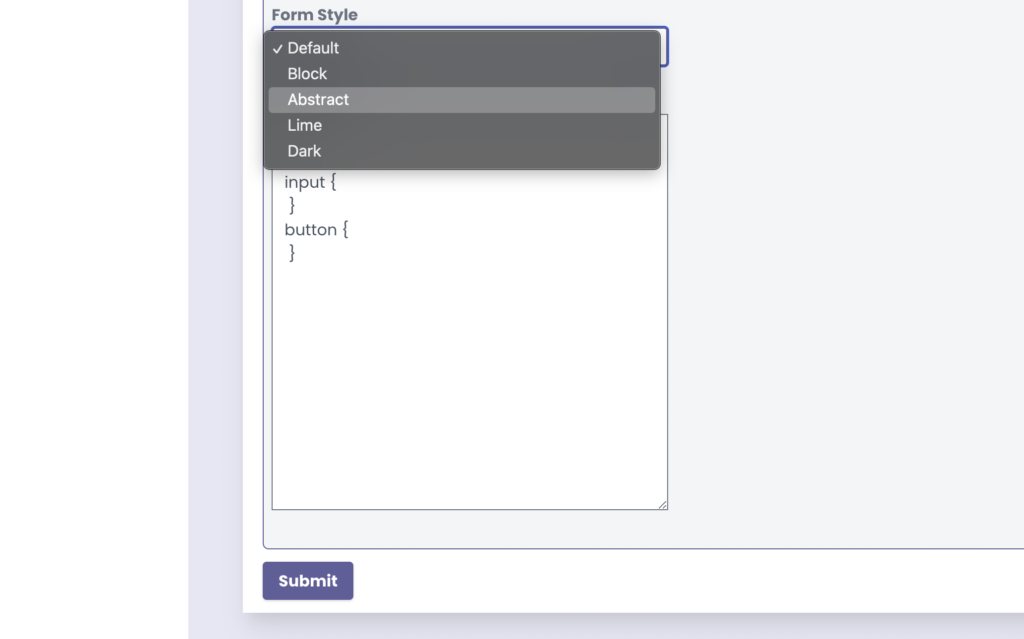
Step Three: Scroll down and you will see a tab called “Form Style.” Here you will be able to change the look of the form to any of the following options.

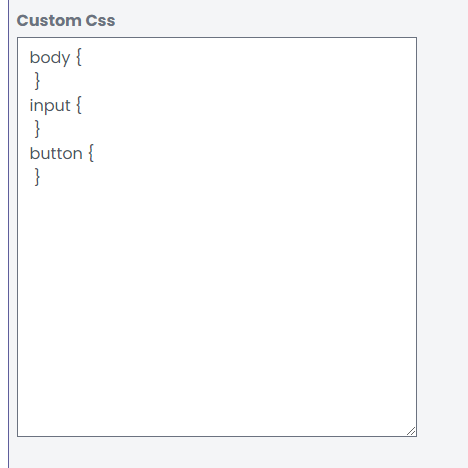
Step four: You also have the capability to design your form from scratch using the custom CSS designer! This option will work best if you are familiar with code.

Use the following inputs to get started:

Input textboxes:

				
					input:not(input[type='checkbox'], input[type='radio'], .hidden){ 
  
}


All buttons:

				
					button {

}


Undo button on signatures:

				
					.fs-undo{

}


Entire document:

				
					.fs-body {          

}


Each seperate question area ( label and inputs )

				
					.fs-div {

}


Question labels:

				
					.fs-label {

}


Area wrapping entire form:

				
					.fs-wrapper {
    
}


Waiver text at the bottom of the form ( Powered by LenzVu ... )

				
					.waiver-text {

}


Placeholder text on inputs:

				
					input::placeholder{

}