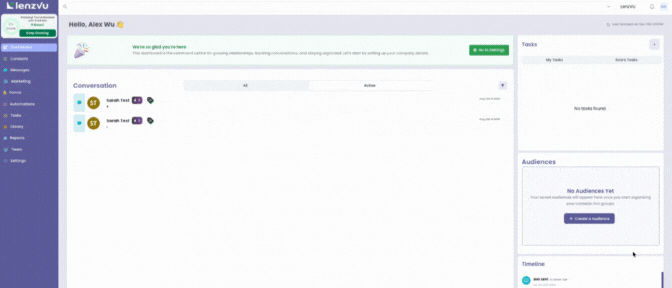
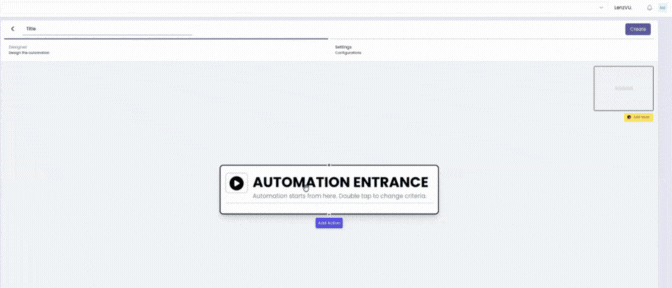
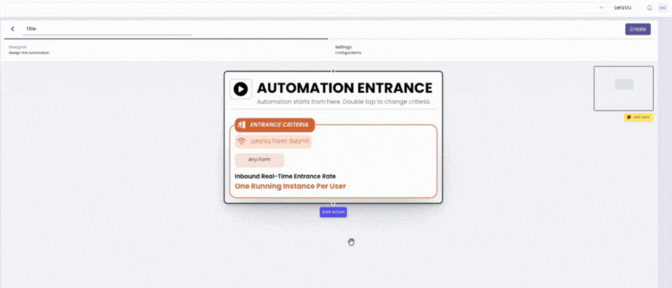
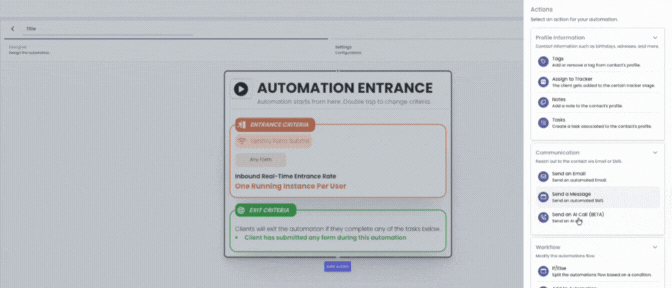
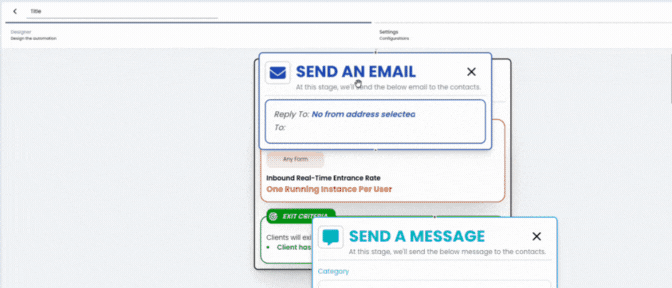
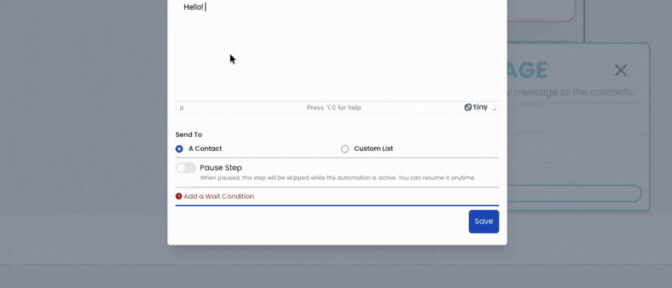
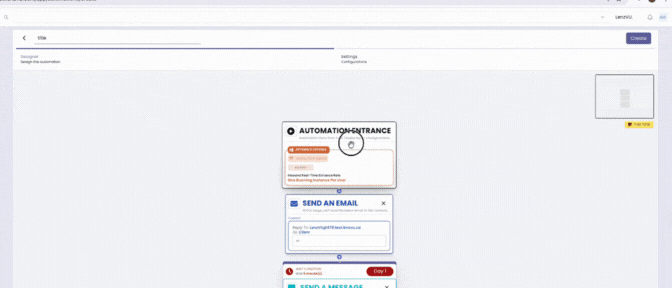
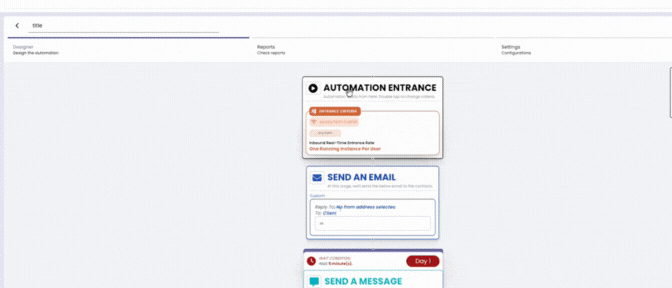
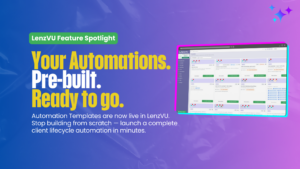
Automation Templates Are Now Live for Every Studio. Stop building automations from scratch. Your entire client lifecycle — from first account to 500 classes — is now pre-built, ready to
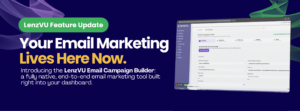
Introducing the LenzVU Email Campaign Builder End-to-end email marketing — composing, targeting, A/B testing, follow-ups, and analytics — now live inside your LenzVU dashboard. Today we’re shipping the feature our
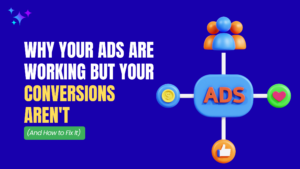
You put real money into a Meta ad. The creative is good. The targeting is dialed in. People are clicking. And then they land on your homepage, see nothing about

Your Competitors Are Running AI Ads at Scale — LenzVU A recent episode of the Social Media Marketing Podcast hit on something fitness studio owners can’t afford to ignore: AI-generated