Automating the confirmation message for a client’s first-ever registration at a fitness studio creates a welcoming experience by acknowledging their successful registration, providing important details about their upcoming class, and offering any necessary instructions or preparations. This streamlined process ensures a smooth transition for new clients, making them feel supported and excited as they embark on their fitness journey with the studio.
Step 1: Create Automation #
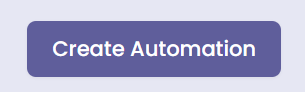
Select the automations tab on the left side of the page but this time select automations. Now click on the create automation button at the top right hand side of the page.
Step 2: Set an Entrance Condition #
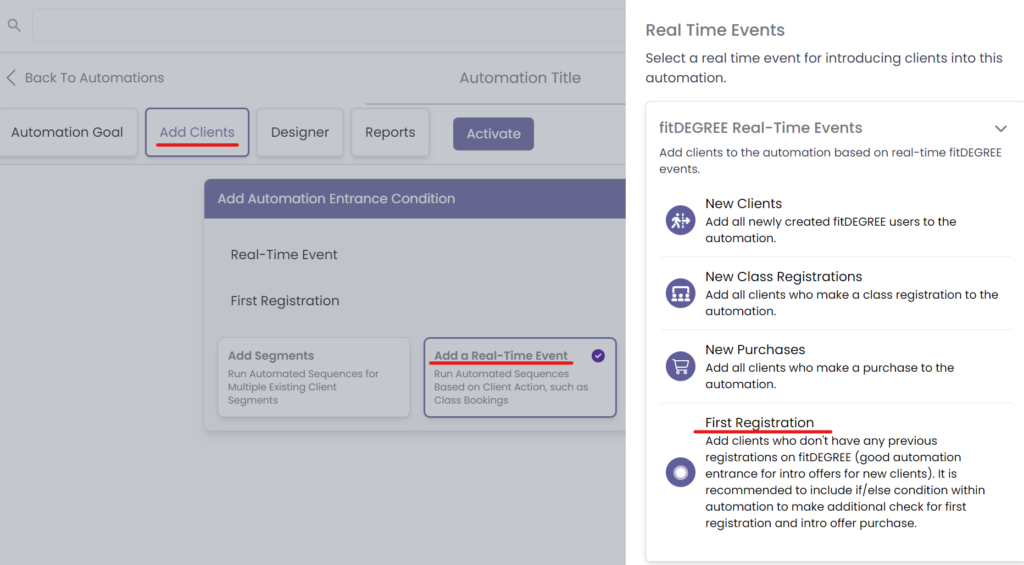
Start by clicking on the add clients tab and select the +Add a Real-Time Event feature for the automation entrance condition. From here choose First Registration
Step 3: Build The Automation #
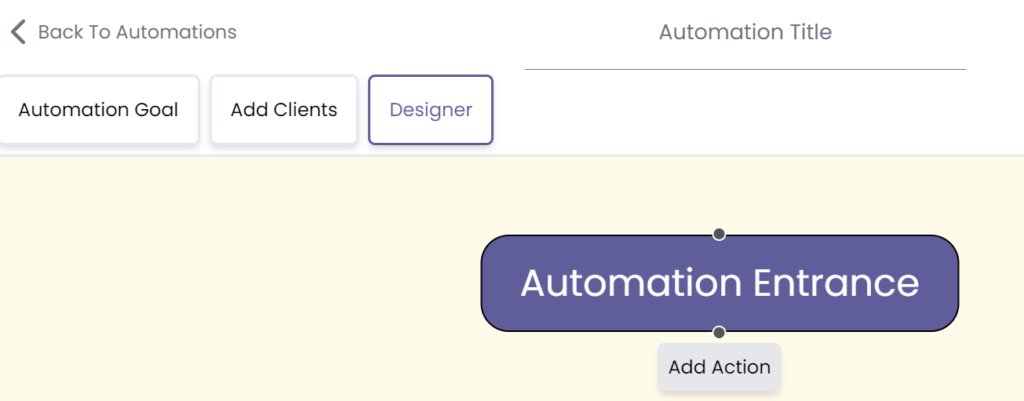
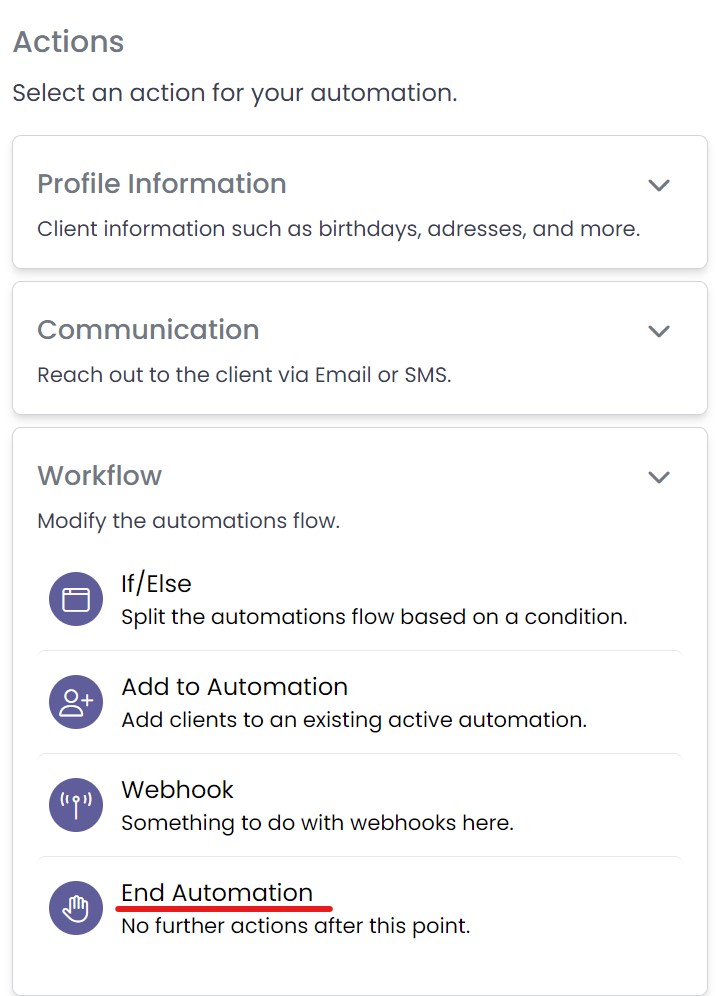
Now go to the Designer tab and select the Add Action button to build the automation.
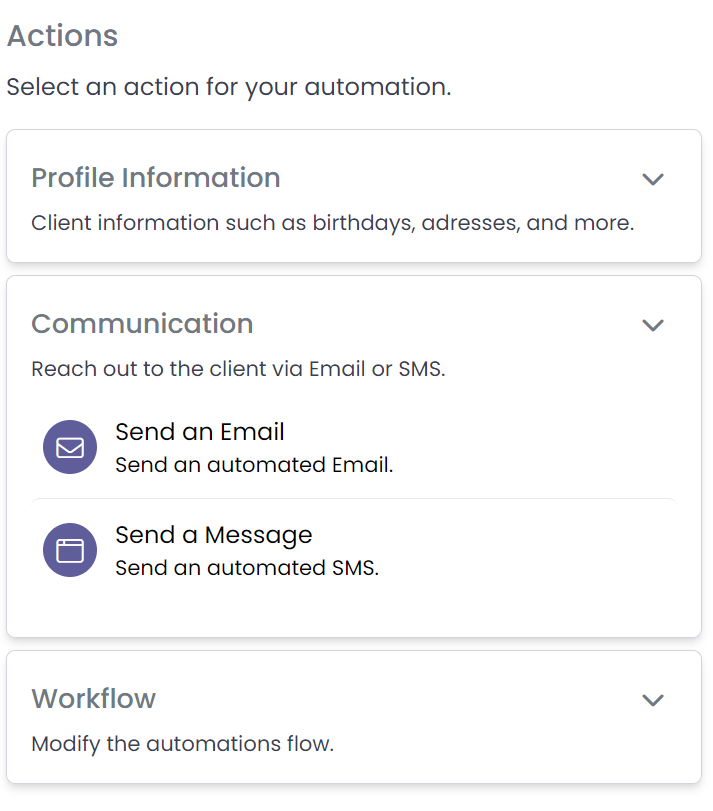
From here, select the Communication tab and select Send an Email, Text Message, or both.
Now double click the created message, input the intended text into the text block, and set an exact time wait condition if needed.
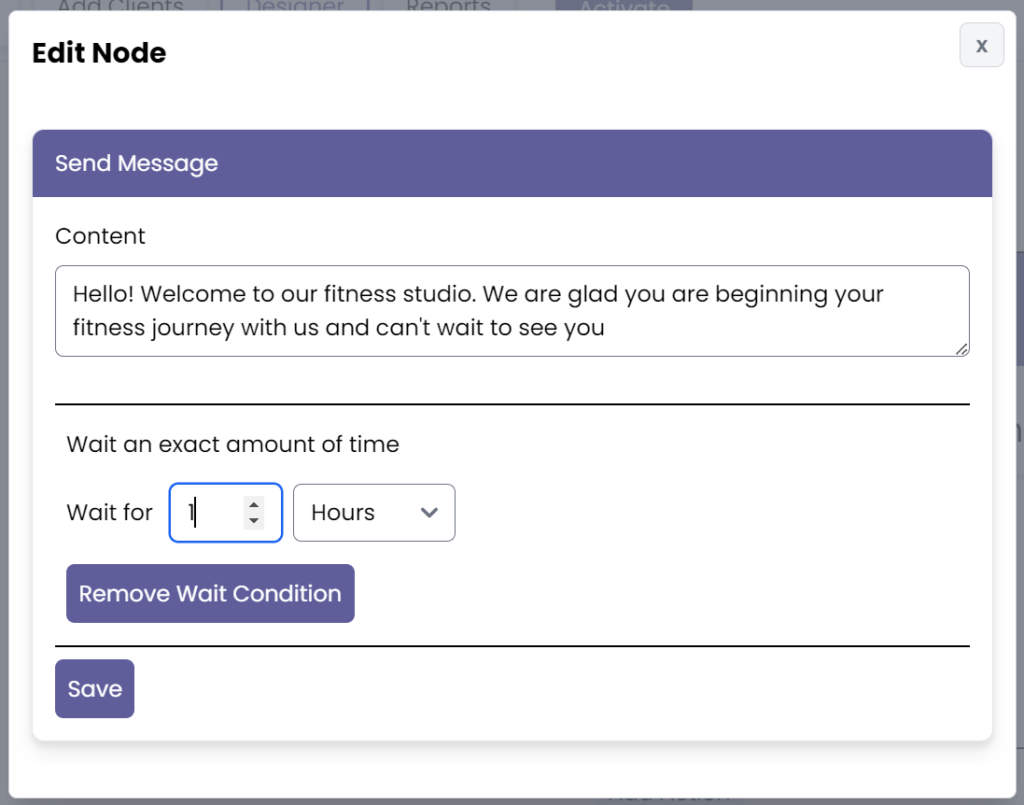
Now save the message and add the final action within the Workflow tab: End Automation.
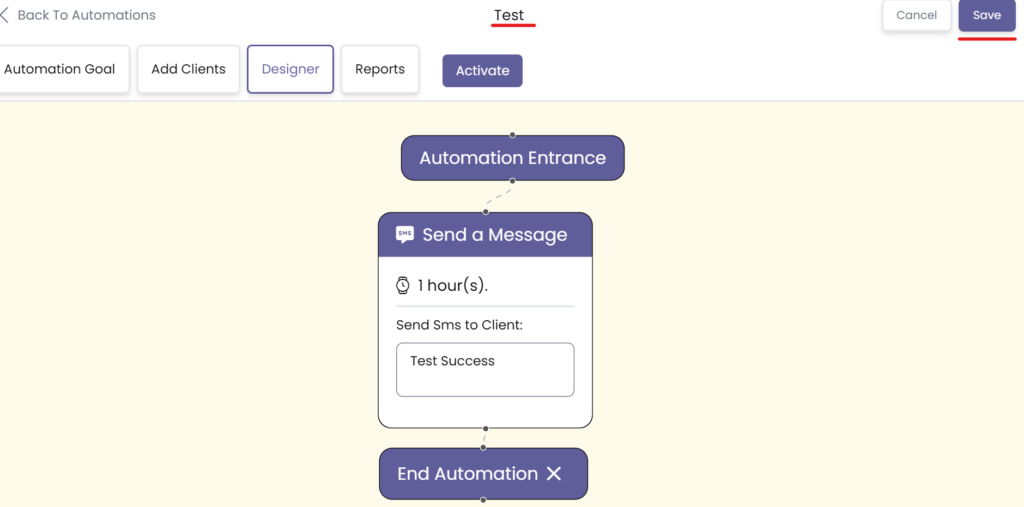
Step 4: Save and Activate #
Finally, add a title for your automation, click save, and activate it.
Congratulations on getting to know how to set up our client’s first registration check-in automation!