Learn how to create a liability waiver with us today! Protect your business, have them all in one place and have it look professional while doing the least amount of work with drag-and-drop elements it’s as easy as A B C!
Navigate to “legal forms” #
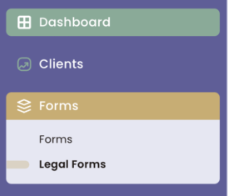
To get started on creating a waiver, you want to click on the “Forms” tab from the menu bar on the left side on your screen. Next, from the drop-down bar, click “Legal Forms”.

Start a waiver #
Once you have arrived at the legal forms page, click the “add” button in the top right-hand corner.

Introduction to the form designer #
Once you have clicked “add”, you will be led to LenzVU’s flexible form designer! Here, you will be able to customize your waiver to be exactly how you want it to be.
NOTE: LIABILITY WAIVERS ARE LEGAL DOCUMENTS. IT IS IN YOUR BEST INTEREST TO SEEK LEGAL ADVICE FROM A LAWYER BEFORE DRAFTING AND IMPLEMENTING YOUR FORMS.
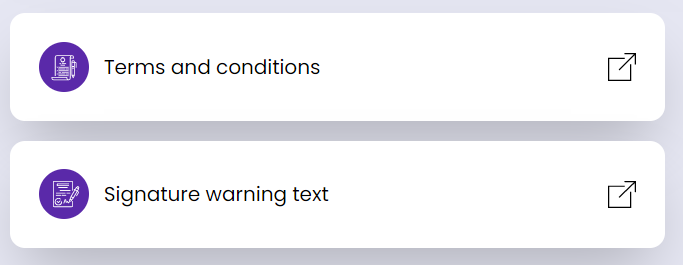
What does the “terms and conditions” element mean?
The “terms and conditions” element of your waiver allows you to display all the terms and clauses that you would like to incorporate in your liability waiver
What does the “signature warning text” element mean?
Given that this is an electronic waiver, that is being viewed and signed digitally, in order to ensure that your waiver is enforceable, it is crucial to include a signature warning text in your waiver. This is for you to disclose to your clients that their electronic signature constitutes accepting all the terms and conditions outlined in your legal document.
What does the “disclosure text” element mean? (at bottom of page)
The disclosure text can be customized to be anything you would like. The text that is pre-populated allows you to ask your clients to certify that they are 18 years or up and ensure the requirements of your business are met.
Build a liability waiver #
Name your waiver in the “title” field and select a color theme to suit your brand in the waiver theme section.

Next, edit the text displayed on your waiver here.

As you continue to scroll down the page, you will see the toolbox on the left side of your screen. This toolbox provides you with a variety of elements that you can incorporate into your waiver form. In order to get started, simply DRAG & DROP any applicable input to customize it however you see fit.

At the bottom of the page, you will notice that you have the capability to create and customize a “Thank You” page for your clients once they have submitted their forms. This is also where you will find the “disclosure text” tab to edit. You can edit it by clicking on the icon on the right hand side.

Publish form #
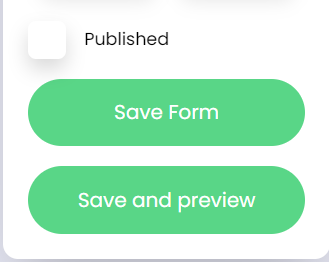
Once you have finalized the content of your waiver, be sure to SAVE your form. You can take the opportunity to preview your form to verify everything is exactly how you want it to be, by clicking the “save and preview” button. Then finally, you may check off the “Published” box to make your waiver accessible to the public!

Have any further questions? #
No problem! Our staff would be happy to assist you.


