As a studio owner, you could be running multiple classes and require separate communications for each class. Why do it manually? When you could do it with LenzVU.
Setup your tags #
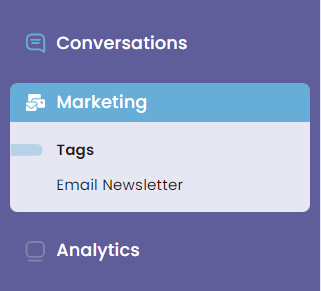
First, click on “Marketing” and then “tags”. The “Marketing” tab can be found on the left side of the screen.
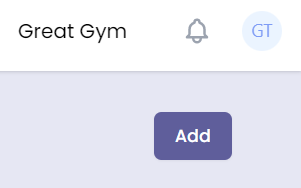
Next, click on add which can be found on the right side of the screen.
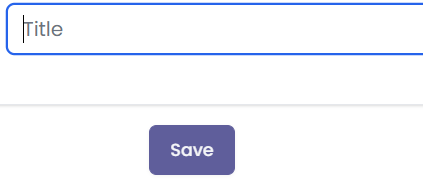
Once you click add, you can fill out the title and then press “save”
If you’d like to change the name of the tag you can simply press “edit” in the tags section.

Navigate to the campaign designer #
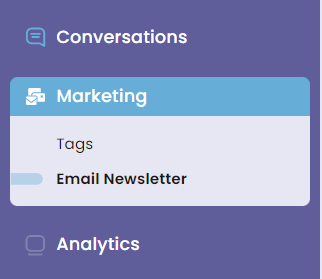
To get to the campaign designer, click on “Marketing” and then “Email Newsletter”. “Marketing” can be found on the left-hand side of the screen.
You will then be taken to the “Email campaigns” section. Here you can see a list of email campaigns you may have already done. To create a new email newsletter, click on “add”.
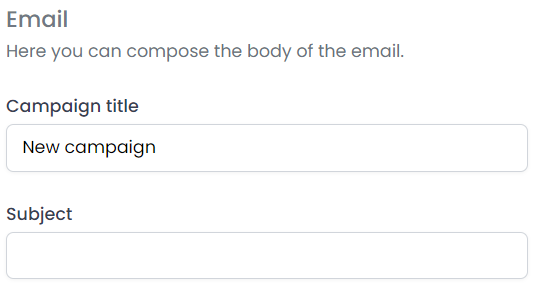
In the “campaign title” you can name your campaign something unique so you may find it. In the subject field, you can edit the subject of the email.
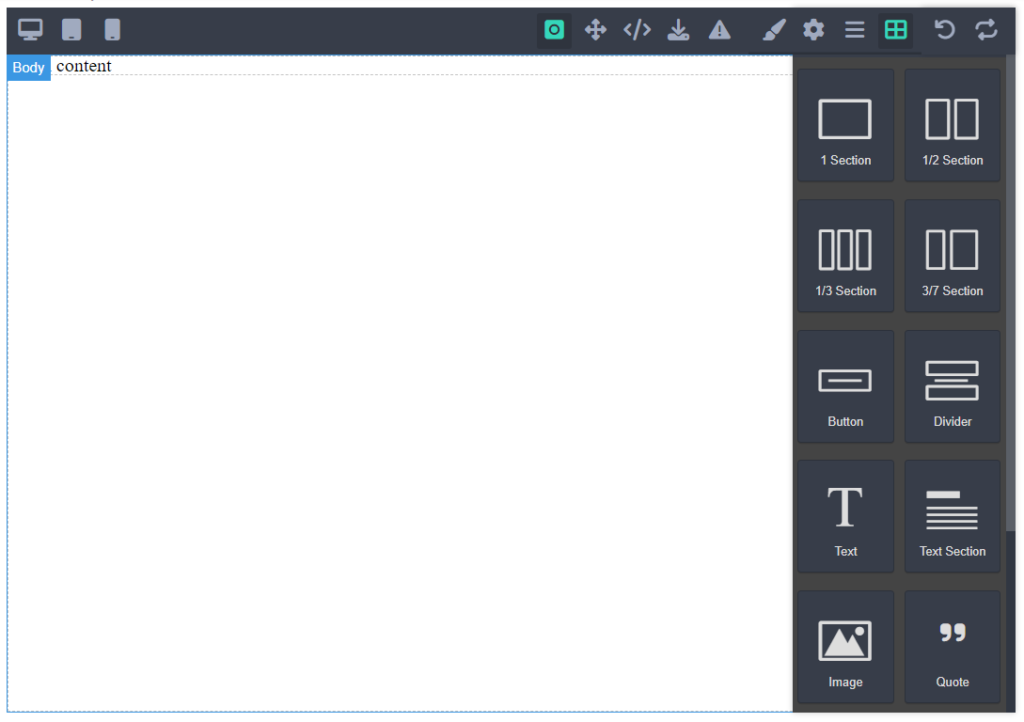
Here is where you can edit the body of the email. simply drag and drop the tools you’ll need into the workspace.
Once you’re done editing accordingly, you can go ahead and click “next” it can be found right below the elements.
Next, fill out the fields displayed with the desired name and email you’d like to show to people receiving the email. Once done press “next”.

Here you can select which group of people get this email. Once done, you can go ahead and press next.

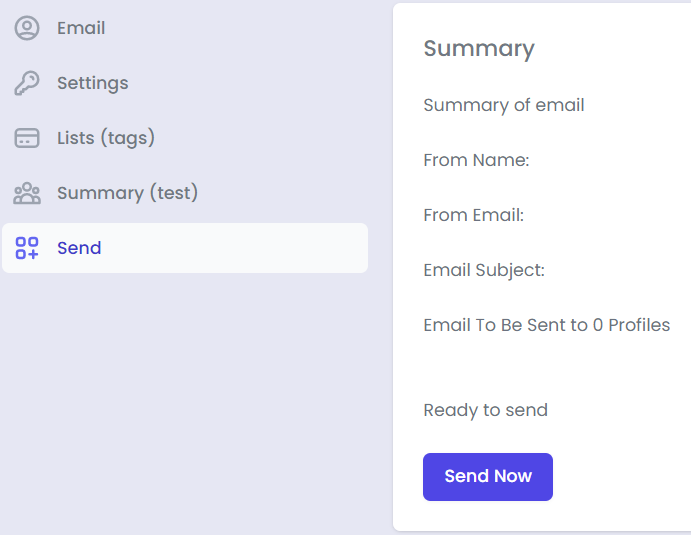
To preview the details and send a test email to your email you can simply enter your email and then press “Send”. If it seems fine for you, you may click “send” which is on the left-hand side. and then press the “send” button.
Congratulations on learning how to send emails with LenzVU!
Have any further questions? #
No problem! Our staff would be happy to assist you.


