Check-in clients using flows on LenzVU, to record attendance and keep accurate records on who attends your classes.
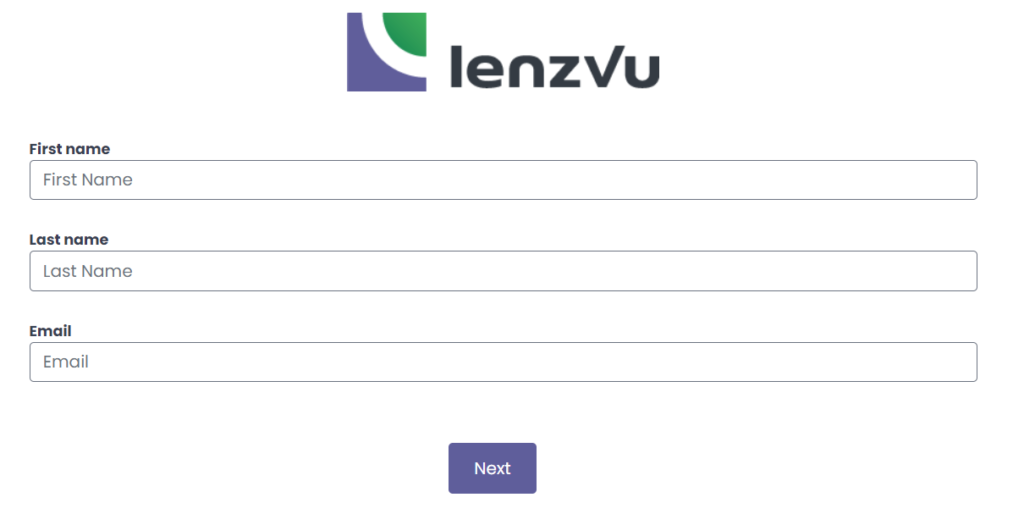
The customers perspective #
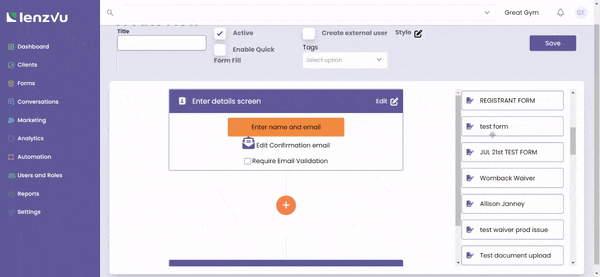
This is how it looks like from the customers perspective. Once taken to your form via link or QR code, they’ll be asked to enter their details such as their name and email.
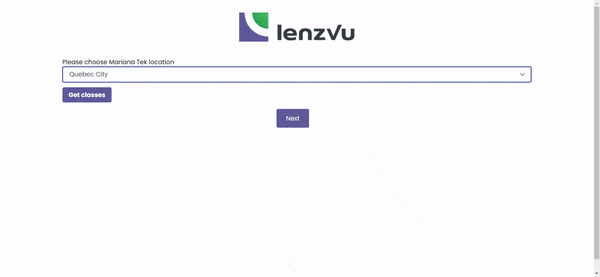
Once they press next they’ll be directed to filling out regarding information about the class such as location and what specific class they’re registering for.
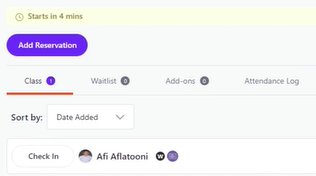
How to tell if a client is checked in #
To tell whether or not a client is checked in you can take a look at the class list.
If they’re not checked in, their status will look like this,
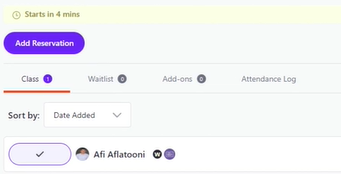
However, if they are checked in, their status will be indicated with a check mark, like this.
Create a flow #
First, you’re going to go in and create a flow by going to “Automation” and then “Designer”. From there you’re going to click on “add”. You will be taken to a screen that’ll let you pick which type of flow you’d like to create, select “Create interactive XP”.

Next in the XP flow designer toolbox, you’re going to scroll down and find “MT Enable check-in after completion”. Simply drag and drop it onto your workspace.
Enter the name of the title and then hit save. The system will then automatically check in the client once the client fills out the check-in form.
Congratulations on learning how to check-in clients with LenzVU. To learn more about us feel free to read our FAQs here