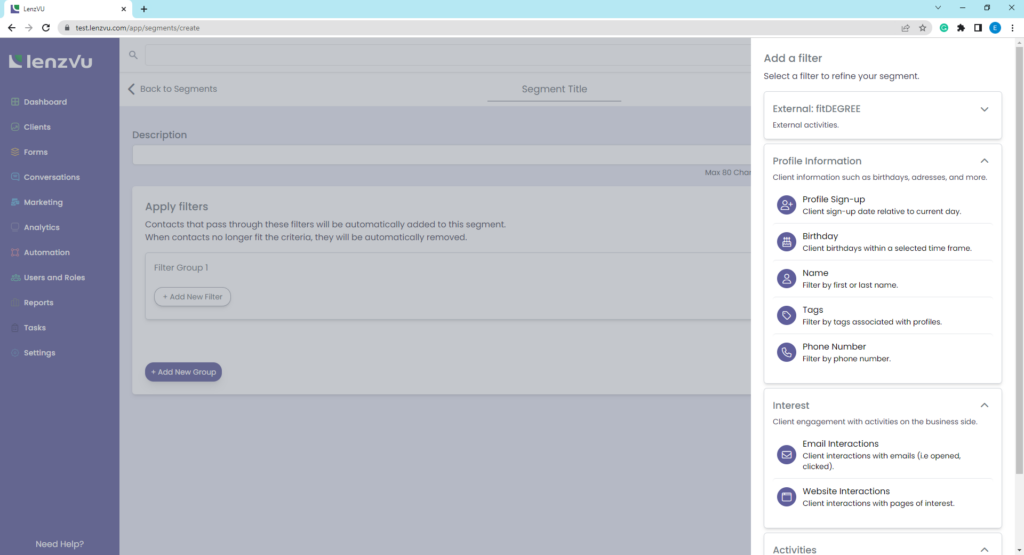
Celebrate your clients’ birthdays by automating promotions, emails, and texts to show your appreciation. This page will guide you on how to create a segment of clients based on their birthdays.
Apply Birthday filter #
To create a Birthday filter within Segments, click +Apply New Filter and select Birthday.

Customize your Birthday filter #
To customize your filters, click the drop down options regarding the birthday segment of clients. You can filter by days, weeks, months, and years of the birthday from the current day. You can also adjust when the clients should be added into the segment.
Before current day: Clients are added when their birthday has passed already.
After current day: Clients are added when their birthdays are upcoming.
Current day: Clients are added when their birthday is today.

If you would like to add another condition to the filter group, click +Add New Filter in the same filter group. This will require clients to meet all filter conditions in the filter group in order to be added to the segment.
If you would like to add another filter group, click +Add New Group. Clients must meet either or filter group to be accepted into the segment. If a client meets both filter groups, they will not be added to the segment.
When you’re done, click Save Segment.

Congrats! The segment is now completed. You can now use this segment in automations for client birthdays. Click here to learn more about Segments.


